How Long Does It Take to Hike Angels Landing? (2026)
Most hikers need 3 to 5 hours round trip for Angels Landing, longer in summer heat. Here are realistic time ranges, the permit lottery rules and what the chains really involve, checked September 2026.
HikingCare is reader-supported. When you buy through links on our site we may earn a commission at no extra cost to you. How we choose what to recommend.
⏱️ Quick answer
How long does it take to hike Angels Landing? Most hikers need 3 to 5 hours round trip, including time waiting on the chains. Add more in summer heat or with a larger group.
These are ranges, not promises. Your time depends on fitness, crowds at the chains and the season. You also need a permit, checked and confirmed through the National Park Service, before you start.
*Source: National Park Service, Zion National Park, checked September 2026.
Angels Landing looks short on a map. A little over five miles, round trip, does not sound like a big day. The catch is the last half mile, a knife-edge ridge with chain handholds and drops on both sides.
That last stretch is why so many hikers ask how long this really takes. It is not just about your pace. It is about how many people are on the chains ahead of you, how hot the sandstone gets, and whether you are comfortable with exposure at all.
This guide gives you realistic time ranges, the current National Park Service numbers for distance and elevation, and the permit lottery rules as they stand in September 2026. We also cover who should consider skipping the chains, and where to go instead.
Here’s what you’ll get from this guide:
- Realistic time ranges by fitness level and season, not a single number
- Official NPS distance, elevation and permit lottery details
- What the chain section actually involves, and who should skip it
- Shuttle, heat and timing tips that change how long your day takes
- Three alternative viewpoint hikes if the chains are not for you
The Short Answer: 3 to 5 Hours for Most Hikers
For most people, hiking Angels Landing takes 3 to 5 hours round trip, from the Grotto trailhead and back. Fast, experienced hikers with no wait at the chains can do it in under 3 hours. Families, first-timers or anyone hiking during a crowded midday window should plan closer to 5, and sometimes 6.
The National Park Service describes the chain section itself, from Scout Lookout to the summit and back, as taking about 1 to 2 hours on its own. That is before you count the approach hike up the West Rim Trail to Scout Lookout, which makes up most of the total distance.
🧮 Why the range is so wide
The chains are a single-file, two-way trail in places less than 3 feet wide. When it is busy, hikers queue to pass each other. Your fitness controls the approach hike. Crowd size controls the chains. Both add up differently every day.
These figures are planning estimates built from the National Park Service’s own trail description and commonly reported hiker times. They are not a guarantee. Treat every number in this guide as a range, and build in extra time rather than cutting it close.
It also helps to separate your hiking time from your total day. Add shuttle waits, a safety margin for the chains, and time to simply enjoy the summit once you get there. Most visitors find their actual day, door to door from their hotel, runs longer than the trail time alone suggests.
Distance and Elevation, From the NPS
According to the National Park Service, Angels Landing is 5.4 miles round trip from the Grotto trailhead, with 1,488 feet of elevation gain. The hike starts by crossing a footbridge from the Grotto shuttle stop, then climbs the paved switchbacks of the West Rim Trail.
The trail passes through Refrigerator Canyon, a shaded, cooler stretch between cliff walls, then climbs a set of switchbacks known as Walter’s Wiggles to reach Scout Lookout. This is the last flat rest point, and the last place to turn around without needing a permit.
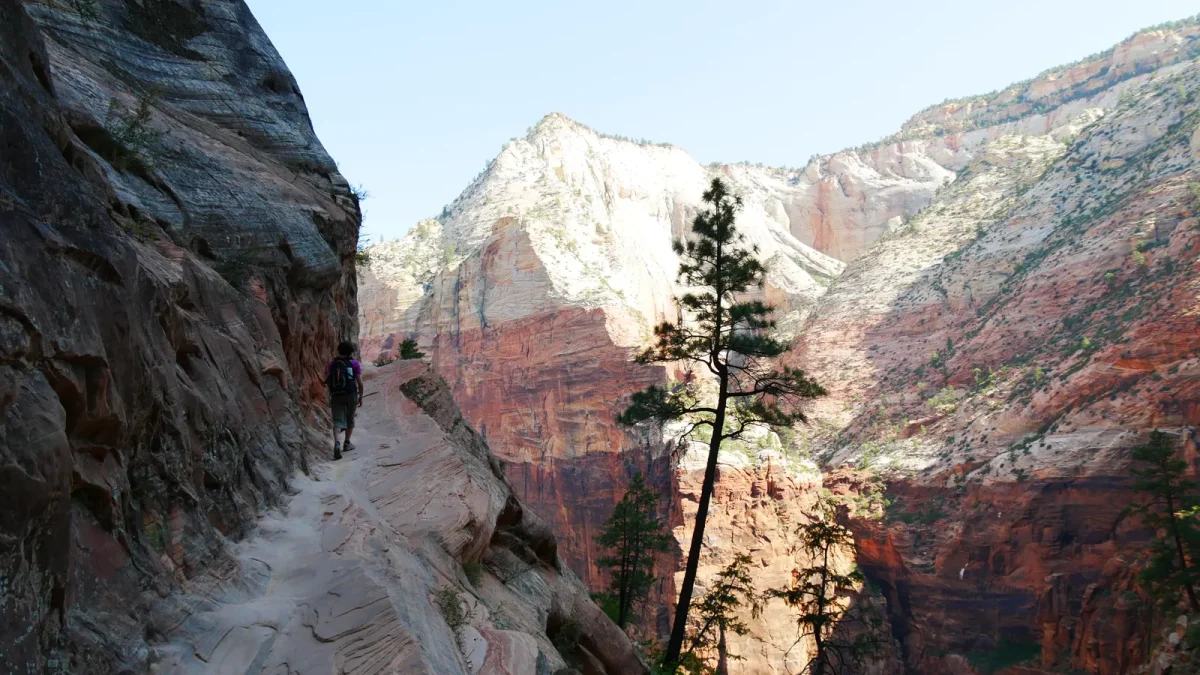
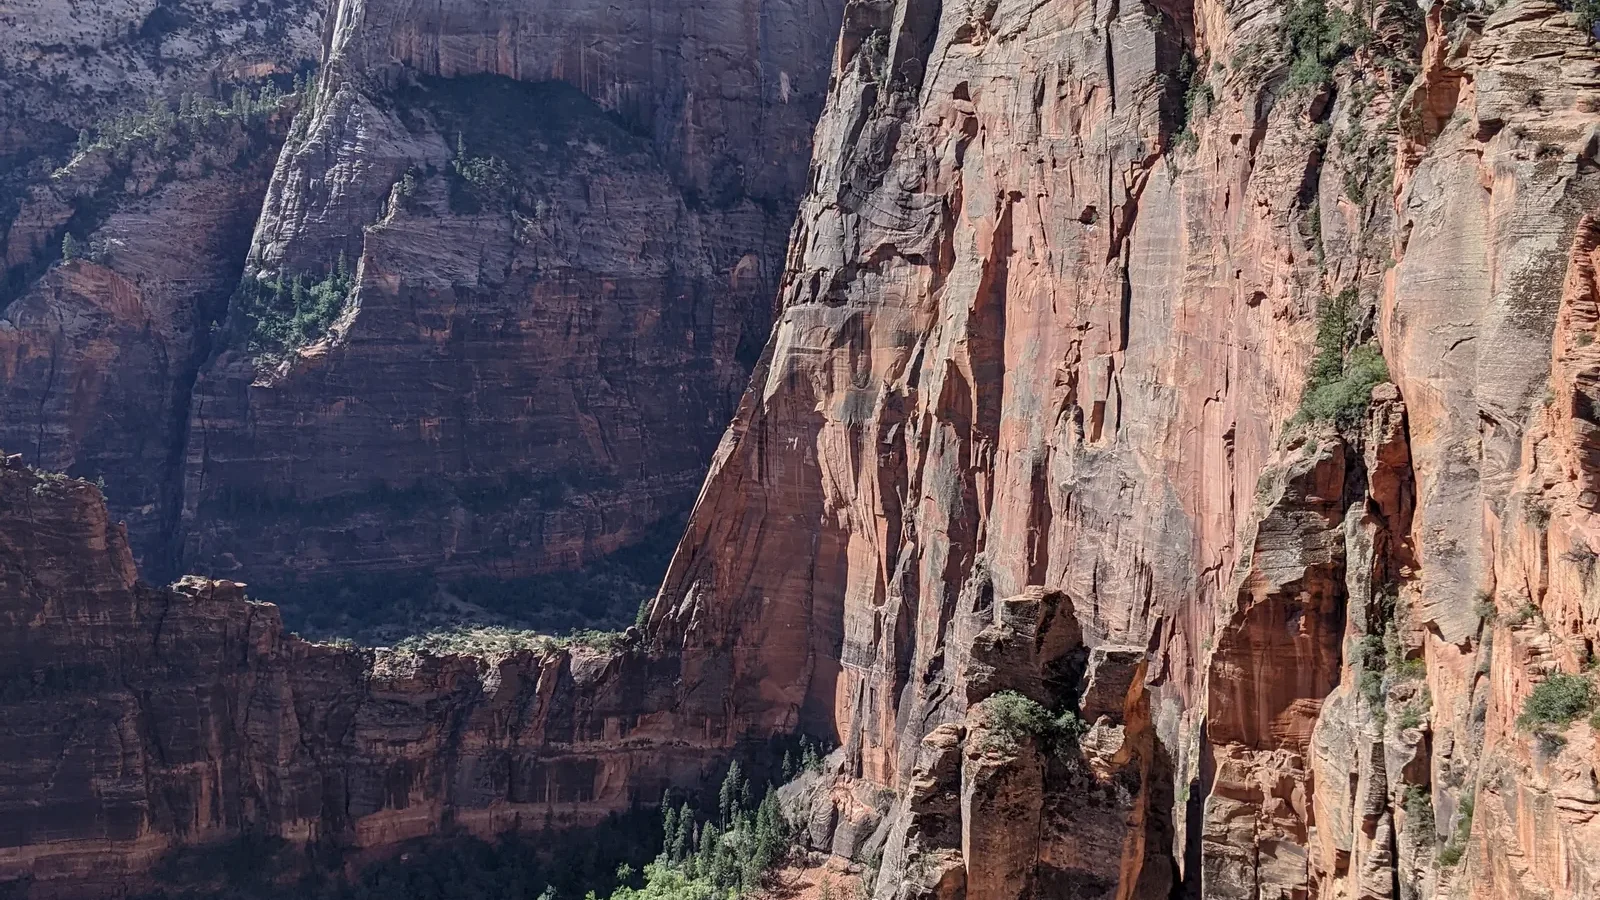
From Scout Lookout, the final half mile follows a narrow sandstone ridge to the summit, gaining the last few hundred feet with the help of chains bolted into the rock. The National Park Service is direct about this stretch: it calls it a “knife-edge ridge,” and notes that most deadly accidents since 1930 have happened on this exact section.
Breaking the hike into segments makes the time ranges above easier to picture. Here is roughly how the 5.4 miles and 1,488 feet split up, based on the National Park Service’s trail description and commonly reported segment times.
| Segment | One-way distance | What it involves | Permit needed? |
|---|---|---|---|
| Grotto to Refrigerator Canyon | About 1 mile | Paved switchbacks, moderate grade, some shade lower down | No |
| Refrigerator Canyon to Scout Lookout | About 0.5 mile | Walter’s Wiggles switchbacks, steeper, still paved | No |
| Scout Lookout to the summit | About 0.5 mile | Chains, exposed sandstone ridge, single-file traffic | Required |
| Return trip | Same route, reversed | Descending the chains, then the switchbacks back to the Grotto | Only past Scout Lookout |
The distance is short. The last half mile is what makes this a full day’s plan, not a quick stroll.
The Permit Lottery, Explained
Since April 1, 2022, everyone who hikes any part of Angels Landing beyond Scout Lookout needs a permit. Hiking the chain section without one is a federal violation, and the National Park Service can fine violators up to $5,000.
Permits come through two lotteries on Recreation.gov, both run by the National Park Service.
- Seasonal lottery. For 2026, applications for spring hikes (March 1 to May 31) opened February 13 and closed February 25, with permits issued February 26. Summer applications (June 1 to August 31) ran April 1 to April 20, issued April 25. Fall applications (September 1 to November 30) ran July 1 to July 20, issued July 25. Winter applications (December 1, 2026 to February 28, 2027) run October 1 to October 20, issued October 25.
- Day-before lottery. You can also apply the day before your hike, from 12:01 a.m. to 3:00 p.m. Mountain Time, with results issued by 4:00 p.m. that day. This is the only option if you missed the seasonal window.
The application costs $6 and covers a group of up to 6 people. If you win, each person in your group pays an additional $3 when the permit is issued. The park issues more than 200,000 Angels Landing permits a year, but demand still outstrips supply on popular dates.
⚠️ No permit, no chains, no exceptions
The permit covers only the section from Scout Lookout to the summit. You can hike to Scout Lookout without one. Rangers check permits on the chains, and the fine for skipping this step is steep. Build your whole schedule around already having a permit in hand.
Time Estimates by Fitness and Season
Use this table as a planning range, not a promise. It combines the NPS’s own chain-section estimate with commonly reported total hike times from experienced trip leaders and hiking guides.
| Hiker profile | Spring/fall estimate | Summer estimate | Notes |
|---|---|---|---|
| Fast, experienced hikers | 2.5–3.5 hours | 3–4 hours | Little wait at the chains; strong pace on the approach |
| Average, moderately fit hikers | 3.5–5 hours | 4–6 hours | Typical pace for most first-time visitors |
| Casual hikers or larger groups | 5–6 hours | 6–7 hours | More rest breaks, more time waiting to pass on the chains |
| Hiking with kids (Scout Lookout only, no chains) | 2–3 hours | 2.5–4 hours | Turning around at Scout Lookout skips the permit requirement |
Summer estimates run longer because heat forces more water and shade breaks, not because the trail changes. Every range assumes typical weekday crowding; a busy holiday weekend can push any of these estimates higher.
Treat your own first attempt as the slower end of whichever row fits you. It is easier to be pleasantly surprised by finishing early than to fall behind a tight schedule on a trail where rushing is exactly what you should not do on the chains.
Group size changes the math too. A party of two moves through narrow chain sections faster than a party of eight, simply because fewer people need to find a place to step aside. If you are hiking with a large group, add time on top of whichever row best matches your average fitness.
The Shuttle and Getting to the Trailhead
Angels Landing starts at the Grotto shuttle stop on Zion Canyon Scenic Drive. For most of the year, the road is closed to private vehicles, and the park’s free shuttle is the only way in.
For the 2026 season, Zion’s shuttle runs from early March through late November, plus a short holiday-season run at year’s end. The first bus typically departs around 7:00 a.m., with buses every 5 to 10 minutes during the day. Add shuttle wait and ride time, often 20 to 30 minutes each way from the visitor center, to whatever hiking estimate you plan around.
💡 Start with the first shuttle
An early start beats both the heat and the chain-section crowds. Arriving at the Grotto by mid-morning often means a longer wait to pass other hikers on the ridge.
Outside the main shuttle season, private vehicles can sometimes drive Zion Canyon Scenic Drive directly to the Grotto, which removes the shuttle wait entirely but adds the uncertainty of a small parking lot. Check the park’s current shuttle calendar before you plan around either option, since dates shift slightly year to year.
Whichever way you arrive, build the round-trip shuttle or drive time into your overall day, not just your hiking estimate. A hike that takes 4 hours on the trail can easily become a 5 to 6 hour outing once you count getting to and from the visitor center.
Heat and Seasons
Zion Canyon’s floor commonly reaches the mid-90s to over 100°F (35–40°C) on summer afternoons, and sandstone holds and radiates that heat back at hikers on exposed sections. There is no reliable shade on the chains themselves.
Spring and fall bring milder temperatures but their own risks. Wet or icy rock is far more dangerous on the chains than dry rock, and the National Park Service specifically advises against attempting the chains when the ground is wet or icy, or when storm clouds are nearby. Winter can bring snow and ice to the upper trail, which changes the difficulty far more than the distance suggests.
⚠️ Skip the chains in these conditions
The National Park Service’s own guidance: do not attempt the chains if you have a fear of heights, if storm clouds are in the area, if the rock is wet or icy, or if it is dark or will be dark before you finish. These are not suggestions; they reflect where most serious accidents happen.
Shoulder-season mornings can start near freezing at elevation, even while afternoons warm up considerably. Layers you can remove as the day warms make more sense than dressing for a single expected temperature, especially since the hike gains almost 1,500 feet between shaded canyon floor and exposed ridge.
The Chain Section, Honestly
The chains begin just past Scout Lookout. For roughly half a mile, the trail narrows to a rock ridge with drop-offs the National Park Service describes as up to 1,000 feet on each side. Sections are less than 3 feet wide, and a fixed chain, bolted into the sandstone, gives hikers something to hold as they pass the most exposed spots.
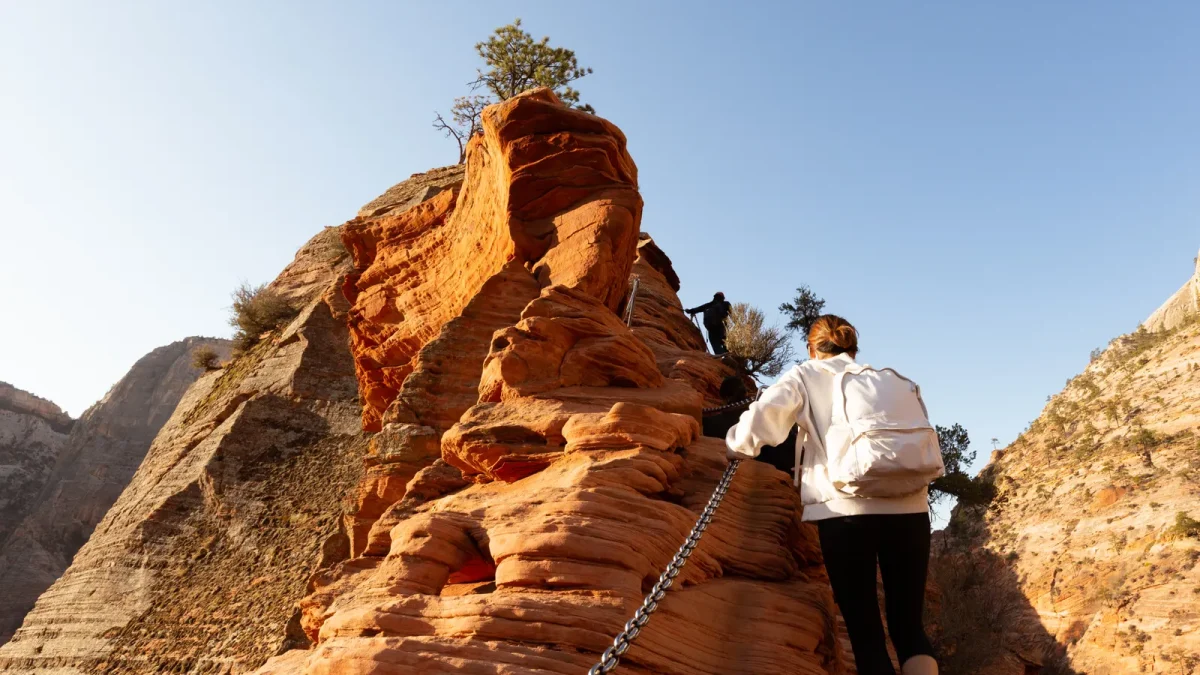
This is not a technical climb. You do not need ropes, harnesses or climbing experience. What it does need is a steady head for heights, sure footing on sloped rock, and patience, since two-way traffic on a narrow ledge means frequent stops to let others pass.
The National Park Service is candid that most deadly accidents on this trail, going back to 1930, have happened on this exact stretch. That is not meant to scare capable hikers away. It is a reason to move deliberately, keep a hand on the chain, and turn around if conditions or your own nerves say no.
Traffic patterns matter as much as footing. On a busy day, hikers going up and down share the same short stretches of chain, so short waits at wider ledges are normal. Rushing past someone to save a minute is a poor trade against a slip on rock this exposed.
Who Should Skip the Chains
Turning around at Scout Lookout is a completely reasonable choice, and it is also the only legal option if you do not have a permit. Consider stopping there, or choosing one of the alternatives below, if any of this describes you.
- Fear of heights or exposure. The chains offer a handhold, not a safety net. If steep drop-offs on both sides sound distressing rather than thrilling, this is not the hike to push through.
- Young children. There is no minimum age, but the exposure is unforgiving of a wandering child. Many experienced hikers do not recommend the chains for kids who cannot be trusted to hold on and stay focused the entire way.
- Balance or mobility concerns. Wet rock, uneven footing and a need to grip a chain one-handed while managing your footing add up. If balance is already a concern on flat ground, this section multiplies the risk.
- Anyone hiking in poor conditions. Wet rock, storms nearby or hiking too late in the day are all reasons the NPS itself lists to turn back, no matter your experience level.
None of this is a judgment on your hiking ability. Scout Lookout alone is a rewarding overlook with real canyon views, and it needs no permit at all. Our hiking with kids guide has more on matching a trail to what your family can handle.
Alternative Viewpoint Hikes
If the chains are not for you, or you could not get a permit, Zion has real alternatives, not just a consolation prize.
Observation Point via the East Mesa Trail
This is the current, official route to Observation Point. The National Park Service lists it at 6.8 miles round trip with about 300 feet of elevation change and roughly 3 hours of hiking time. It looks out over Zion Canyon from a point higher than Angels Landing itself, with no chains and no permit. The catch: the East Mesa trailhead needs a high-clearance or 4-wheel-drive vehicle on dirt roads, and the classic route from Weeping Rock has been closed since a 2019 rockfall, with no reopening date announced as of this check.
Canyon Overlook Trail
A short, moderate 1-mile round trip on Zion’s east side, gaining about 154 feet, with an NPS estimate of 1 to 2 hours. It ends at a wide view over lower Zion Canyon. No permit or shuttle is needed, but the small parking area near the tunnel fills fast, and the NPS advises visitors to be ready to circle back and try again.
West Rim Trail from Scout Lookout
Simply hiking to Scout Lookout and back, without continuing onto the chains, still delivers canyon views and a real sense of the terrain, in a fraction of the total time and with no permit required.
Gear That Helps
None of this gear replaces caution on the chains. It addresses the two things that actually slow hikers down here: grip and heat. We chose these from published specs and manufacturer information, and nobody paid for a spot on this list.
🧤 Better grip on the chains
Mad Grip
Mad Grip Pro Palm Plus Gloves
A grippy, flexible work glove many hikers carry for the chains.
Zion’s chains get sun-baked and slick with hand sweat and dust after thousands of daily hikers. A textured, grippy palm gives you real confidence gripping a hot, worn chain, and a snug, flexible fit means you keep the dexterity to place your other hand on the rock.
- Textured palm for a secure grip on metal chain
- Flexible, snug fit keeps hand dexterity
- Breathable back panel for hot conditions
- Machine washable
| Palm material | Textured grip coating |
|---|---|
| Fit | Snug, flexible |
| Breathability | Mesh back panel |
| Care | Machine washable |
Best for: anyone nervous about hot or sweaty chains. They are a comfort upgrade, not a safety requirement; the chains are still the same chains.
🛒 Buy from Amazon Check today’s price and sizes on Amazon.
🧗 Sticky rubber for slickrock
Five Ten
Five Ten Men’s Fivetennie Approach Shoe
A sticky-rubber approach shoe built for sandstone and slickrock.
Angels Landing’s ridge is polished sandstone, not dirt trail, and traction matters more than ankle height here. Five Ten’s climbing-derived rubber outsole grips sloped rock better than a typical hiking boot tread, which is why approach shoes are common among Zion regulars.
- Sticky rubber outsole for sloped rock
- Low-profile design keeps close contact with the trail
- Reinforced toe for scrambling sections
- Lace-up fit for a secure hold on descents
| Outsole | Sticky climbing-style rubber |
|---|---|
| Style | Low-cut approach shoe |
| Closure | Lace-up |
| Best surface | Slickrock, sandstone |
Best for: hikers prioritizing grip on rock over ankle support. If you need more support on uneven approach trails, pair careful footing with trekking poles instead.
🛒 Buy from Amazon Check today’s price and sizes on Amazon.
💧 Beat the heat
HydraPak
HydraPak Shape-Shift Hydration Reservoir
A 2–3 liter reservoir for a hike with no water source on the trail.
There is no drinking water between the Grotto and the summit. A hands-free reservoir encourages more frequent sips than a bottle you have to dig out, which matters on a hot, exposed climb with real elevation gain.
- High-flow bite valve for quick sipping
- Reversible design for easy cleaning and drying
- Leak-proof, dishwasher-safe construction
- Fits most 2L and 3L hydration sleeves
| Capacity | 2–3 liters |
|---|---|
| Valve | High-flow bite valve |
| Cleaning | Reversible, dishwasher safe |
| Compatibility | Most hydration packs |
Best for: anyone hiking in summer heat. Pair it with electrolytes on very hot days; plain water alone will not replace what you sweat out.
🛒 Buy from Amazon Check today’s price on Amazon.
☀️ Sun protection that breathes
Soothfeel
Soothfeel Women’s UPF 50+ Sun Protection Hoodie
A lightweight, breathable layer for hours of direct desert sun.
Most of this hike sits in full sun with no tree cover, especially on the exposed ridge. A UPF 50+ hoodie blocks more UV than sunscreen alone, and thumbholes keep hands covered too, without the bulk of a jacket in dry heat.
- UPF 50+ rated fabric
- Lightweight, quick-dry material
- Thumbholes extend coverage over the hands
- Four pockets for small essentials
| UV rating | UPF 50+ |
|---|---|
| Weight | Lightweight |
| Features | Thumbholes, hood, 4 pockets |
| Best for | Full-sun, dry heat |
Best for: hikers prone to sunburn on long, shadeless trails. Reapply sunscreen on the face and hands, since fabric alone will not cover everything.
🛒 Buy from Amazon Check today’s price and colors on Amazon.
Prices and stock change often, so check each listing before you buy. As an Amazon Associate, HikingCare earns from qualifying purchases, at no extra cost to you.
Common Mistakes (and How to Fix Them)
1. Not applying for a permit in time
❌ The mistake: arriving at Zion assuming you can hike the chains without checking Recreation.gov first.
✅ The fix: apply in the seasonal lottery months ahead, or the day-before lottery by 3:00 p.m. Mountain Time. No permit means no chains, no exceptions.
2. Starting late in the day
❌ The mistake: catching a mid-morning or afternoon shuttle and hitting the chains at peak crowding and peak heat.
✅ The fix: take the first shuttle of the day. You beat both the sun and the line at the chains.
3. Attempting the chains in a storm or on wet rock
❌ The mistake: pushing on because you already have a permit and do not want to waste it.
✅ The fix: the NPS is explicit that wet or icy rock causes most chain-section accidents. Turn back and try another day.
4. Underestimating water needs
❌ The mistake: carrying one small bottle for a hike with no water source and real sun exposure.
✅ The fix: carry at least 1.5 to 2 liters, more in summer, and start the hike already hydrated.
5. Bringing young kids onto the chains without a clear plan
❌ The mistake: assuming a child will hold on and stay calm on an exposed ridge because they did fine on easier trails.
✅ The fix: turn around at Scout Lookout with kids who cannot be trusted around a real drop. That viewpoint alone is worth the hike.
Pro Tips
- Apply for both lotteries if your dates allow. A seasonal permit is more predictable, but the day-before lottery is a real backup if you miss it.
- Keep one hand on the chain at all times on the exposed section, and let faster hikers pass at a wide spot rather than rushing your own footing.
- Check the forecast the morning of your hike, not just the night before. Afternoon storms build fast in Zion Canyon.
- Pack out everything, including snack wrappers. There are no trash cans past the Grotto.
- Have a backup plan. If conditions look wrong at Scout Lookout, treat the overlook there as a full, worthwhile hike on its own.
- Travel light on the chains. A smaller daypack is easier to manage one-handed than a bulky bag that throws off your balance.
- Tell someone your plan. Share your permit date and expected return time with someone not on the trail with you.
- Photograph the view, not just the drop. Stepping backward for a photo on an exposed ridge is a common, avoidable cause of falls.
- Eat something small at Scout Lookout. A short snack break before the chains steadies energy and nerves for the most demanding stretch.
The best time on the chains is the time you spend calm and unhurried, not the fastest time you can post afterward.
Real-World Examples
These are composite examples built from patterns hikers commonly share in trip reports and online communities. They are not individual testimonials.
What these three trips have in common: the biggest factor in each hiker’s total time was not fitness. It was the decisions around the hike: what time they started, how they managed a nervous family member, and whether they respected the heat. The trail stayed the same length for all three.
Frequently Asked Questions
How long does the Angels Landing chain section alone take?
The National Park Service estimates about 1 to 2 hours for the chain section, from Scout Lookout to the summit and back, not counting the approach hike.
Do I need a permit for the whole hike, or just the chains?
Just the chains. You can hike from the Grotto to Scout Lookout without a permit. A permit is required only for the section beyond Scout Lookout to the summit.
How hard is Angels Landing compared to a normal day hike?
The distance and elevation gain are moderate. What sets it apart is the exposure: narrow, sloped rock with steep drop-offs and only a chain for support on the final half mile.
What is the best time of day to hike Angels Landing?
Early morning, right when the shuttle starts running. You get cooler temperatures and fewer hikers queued at the narrow sections of the chains.
Is there an alternative to Angels Landing with similar views but no chains?
Observation Point, reached via the East Mesa Trail, offers wide Zion Canyon views from a point higher than Angels Landing, with no chains and no permit. Canyon Overlook Trail is a shorter, easier option with its own rewarding view.
Can I still see Zion Canyon well if I only hike to Scout Lookout?
Yes. Scout Lookout has real canyon views and needs no permit. Many hikers who are unsure about the chains turn around here and still consider the hike a success.
Your Angels Landing Checklist
Work through this list in order, since your permit timing affects everything else about your trip.
Tap each item as you complete it. Your progress is saved in this browser.
- Apply for the seasonal lottery on Recreation.gov as soon as the window opens
- Have a day-before lottery backup plan if you miss the seasonal window
- Check the shuttle schedule and plan to catch an early bus
- Check the weather forecast the morning of your hike
- Pack at least 1.5 to 2 liters of water, more in summer
- Decide as a group who is comfortable continuing past Scout Lookout
- Bring grippy gloves if you want extra confidence on the chains
- Have your permit confirmation ready to show a ranger
The Bottom Line
So, how long does it take to hike Angels Landing? Budget 3 to 5 hours for most hikers, more in summer heat or with a bigger group. The distance is short; the chains, the crowds and the sun are what really set your pace.
Get your permit early, start with the first shuttle, and be honest about whether the chains are right for you and your group. Scout Lookout is a legitimate destination on its own if they are not.
🗺️ Plan your Zion day in minutes
Use our free tools to plan water, gear and your route before you go.
💧 Water & Nutrition Calculator 🎒 Gear Planner 🌦️ Trail Weather Planner ✅ Checklist Generator
Keep reading: the best hiking in Hawaii, how to get to Havasu Falls without hiking and the 10 hiking safety essentials.
Sources
- National Park Service: Angels Landing permits and hiking details
- National Park Service: 2026 Angels Landing seasonal lottery dates
- National Park Service: Angels Landing hike overview
- National Park Service: East Mesa Trail to Observation Point
- National Park Service: Canyon Overlook Trail
Facts checked in September 2026. Permit rules, shuttle schedules and trail conditions change, so confirm current details before you go.
You may also like
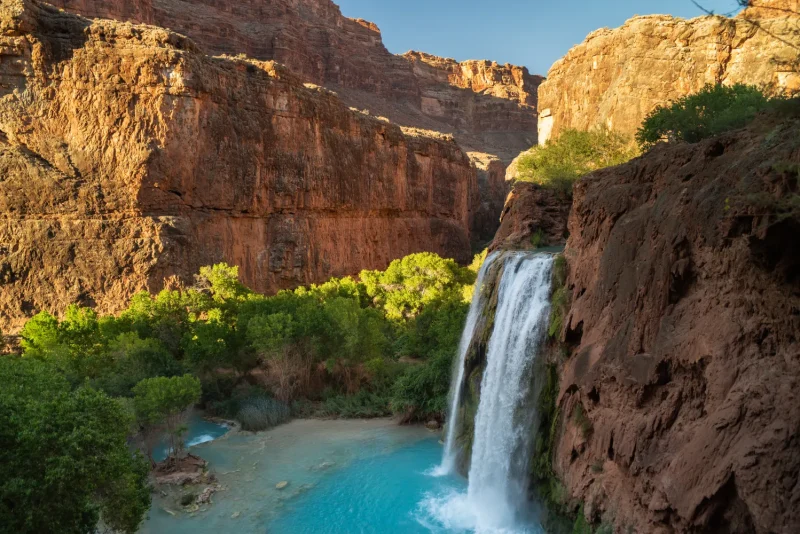
How to Get to Havasu Falls Without Hiking (2026 Guide)
There is no way to reach Havasu Falls without a Havasupai Tribe reservation, and no guaranteed hike-free trip. Here is what the…
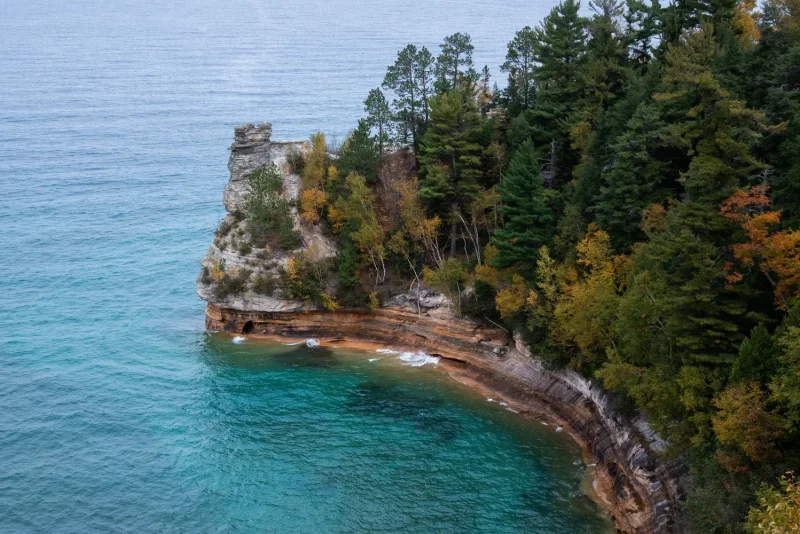
Best Hiking in the Midwest: 13 Top Trails (2026)
Thirteen of the Midwest's best hikes compared across 8 states: distance, difficulty, best season, fees and permits, from national lakeshores to long…
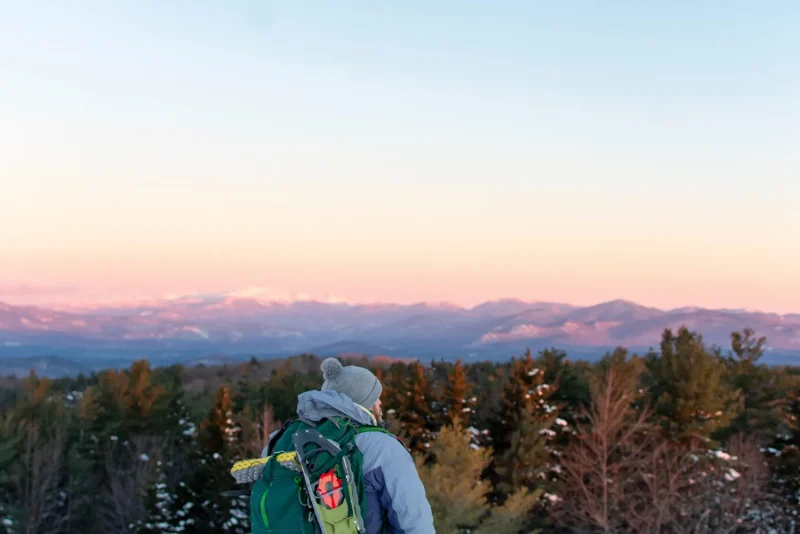
How Long Does It Take to Hike the Appalachian Trail? (2026 Guide)
Most thru-hikers need five to seven months to walk all 2,197.9 miles. Here is how the timeline really works: daily miles, start…

Get better at hiking.
Practical hiking tips, gear guides, trail advice and outdoor stories, delivered occasionally. No spam, unsubscribe any time.