How to Buy Hiking Boots: A Step-by-Step Guide (2026)
Buying hiking boots gets easy when you follow a simple order: match the boot to your hikes, choose materials and waterproofing, then test the fit late in the day with your hiking socks. Here’s the full step-by-step guide.
HikingCare is reader-supported. When you buy through links on our site we may earn a commission at no extra cost to you. How we choose what to recommend.
🥾 Quick answer
Wondering how to buy hiking boots that won’t hurt? Match the boot type to your hikes, choose your materials and waterproofing, then test the fit late in the day wearing your hiking socks. Fit matters more than any feature or brand.
Leave about half an inch in front of your longest toe, and make sure your heel stays put when you walk. Then break your boots in slowly before any big trip.
*Swelling and toe space from AAOS OrthoInfo. Boot lifespan from Sierra and Cotswold Outdoor boot guides; your mileage depends on your weight, terrain and care.
Hiking boots are one of the most important things you’ll buy for the trail, and one of the easiest to get wrong. The wrong pair can mean blisters, bruised toenails and sore feet. The right pair almost disappears on your feet, so you can enjoy the views instead of counting the steps back to the car.
The good news is that buying boots is simple once you follow the right order. In this guide we walk you through each step in plain English, from choosing a boot type to testing the fit in the store. We also cover materials, waterproof membranes, socks, insoles, budget levels and how to tell when your old boots are done. Think of it as a shopping trip with a hiking friend who has done the homework.
Here’s what you’ll get from this guide:
- A simple eight-step buying process you can use in any store
- The differences between trail runners, hiking shoes and hiking boots
- Leather vs synthetic uppers, and whether you need a waterproof membrane
- An in-store fit test that catches problems before you pay
- How socks and insoles change the way boots fit
- What you get at each budget level, and when to replace your boots
How to Buy Hiking Boots in 8 Simple Steps
Here’s the whole process at a glance. Each step gets its own section further down, so use this list as your road map. Follow it in order, because each choice narrows the next one.
- Picture your hikes. Think about distance, terrain, weather and how much weight you’ll carry. A boot for smooth day hikes is very different from one for a week in the mountains.
- Choose a footwear type. Your options are trail runners, hiking shoes, mid-cut day boots, backpacking boots and mountaineering boots. Match the type to your hikes, not to what looks toughest.
- Pick an upper material. Leather lasts and molds to your feet. Synthetic and mixed uppers are often lighter and need less break-in.
- Decide on waterproofing. A membrane keeps you dry in rain, mud and snow, but it runs warmer. You may not need one on hot, dry trails.
- Check the sole. Look at stiffness, support and grip. Stiffer soles suit heavy loads and rough ground.
- Measure and try on late in the day. Bring your hiking socks and any insoles you use. Try on both boots, not just one.
- Run the fit test. Check toe room, heel hold and width. Walk around, stand on your toes and try a slope if the store has one.
- Break them in, then watch for wear. Start with short walks. Later, check the tread, midsole and waterproofing so you know when to replace them.
✨ The golden rule
The Appalachian Mountain Club (AMC) says a good fit matters most, whatever type of footwear you choose. A plain boot that fits well beats a feature-packed boot that doesn’t.
Steps 1 and 2: Match the Footwear Type to Your Hikes
Hiking footwear comes in five main types. In general, the lighter the footwear, the less support and protection it gives, but the less energy it costs you. AMC repeats an old hiker’s rule of thumb: a pound on your feet is like five on your back.
| Type | Weight | Support and protection | Break-in | Best for |
|---|---|---|---|---|
| Trail runners | About 20–25 oz per pair (AMC) | Low; little ankle coverage | Little or none | Smooth trails, light packs, long-distance hiking |
| Hiking shoes | About 2 lb per pair (AMC) | Low to medium; stiffer than runners | Short | Day hikes on moderate trails with light loads |
| Mid-cut day hiking boots | Light to moderate | Great first boot Medium; covers the ankle bone | Short | Day hikes and short backpacking trips with light loads |
| Backpacking boots | Heavier; AMC puts boots at 2.5–3+ lb per pair | High; stiffer midsoles and taller shafts | Longer, especially for leather | Multi-day trips with heavy loads and rough terrain |
| Mountaineering boots | Heaviest | Very high; very stiff, and some are insulated | Long | Snow, glaciers and technical mountain routes |
Trail runners have become hugely popular with long-distance hikers. AMC notes that about 75% of 2019 Appalachian Trail thru-hikers wore them. They’re light and comfortable, but they wear out sooner. AMC estimates 500 to 750 miles for trail runners, while boots are built to last thousands of trail miles, especially with hard rubber soles.
Not sure which type fits you? Use this quick guide:
- Mostly smooth day hikes? Hiking shoes or trail runners.
- Rocky day hikes, or your first pair of boots? A mid-cut day hiking boot.
- Overnight trips with a full pack? A backpacking boot.
- Snow, glaciers or winter peaks? Mountaineering or insulated winter boots. Our winter hiking gear guide covers these.
Torn between low shoes and boots? Read our comparison of trail runners vs hiking boots. Worried about your ankles? Our guide to the best ankle support hiking boots explains what the research says. AMC makes a useful point here: ankle stability depends more on a sole that resists twisting than on collar height.
Step 3: Choose Your Upper: Leather or Synthetic?
The upper is everything above the sole. It decides how the boot breathes, how long it lasts and how long it takes to break in. Here are the main options you’ll see on tags and product pages.
Full-grain leather
Full-grain leather is the smooth, tough outer layer of the hide. AMC notes that all-leather boots tend to last longer and mold to your feet over time, though they cost more. Leather also stretches more than synthetic materials, according to AMC. That means a snug, but not painful, leather boot often eases up a little with use.
Nubuck and suede
Nubuck and suede are leathers with a brushed, velvety surface. Many popular boots use them. The LOWA Renegade has a nubuck upper, and the Merrell Moab 3 uses pig suede with mesh panels. REI points out that rough leathers like these need different waterproofing treatments than smooth, full-grain leather.
Synthetic fabrics and mesh
Nylon, polyester and mesh uppers are common on lighter hiking shoes and boots. REI describes hiking shoes as designed to dry quickly, wick moisture and stay breathable. Many synthetic and mixed uppers need little break-in. The trade-off is durability. OutdoorGearLab, for example, noted that the Moab 3’s sewn seams can snag and fray over time.
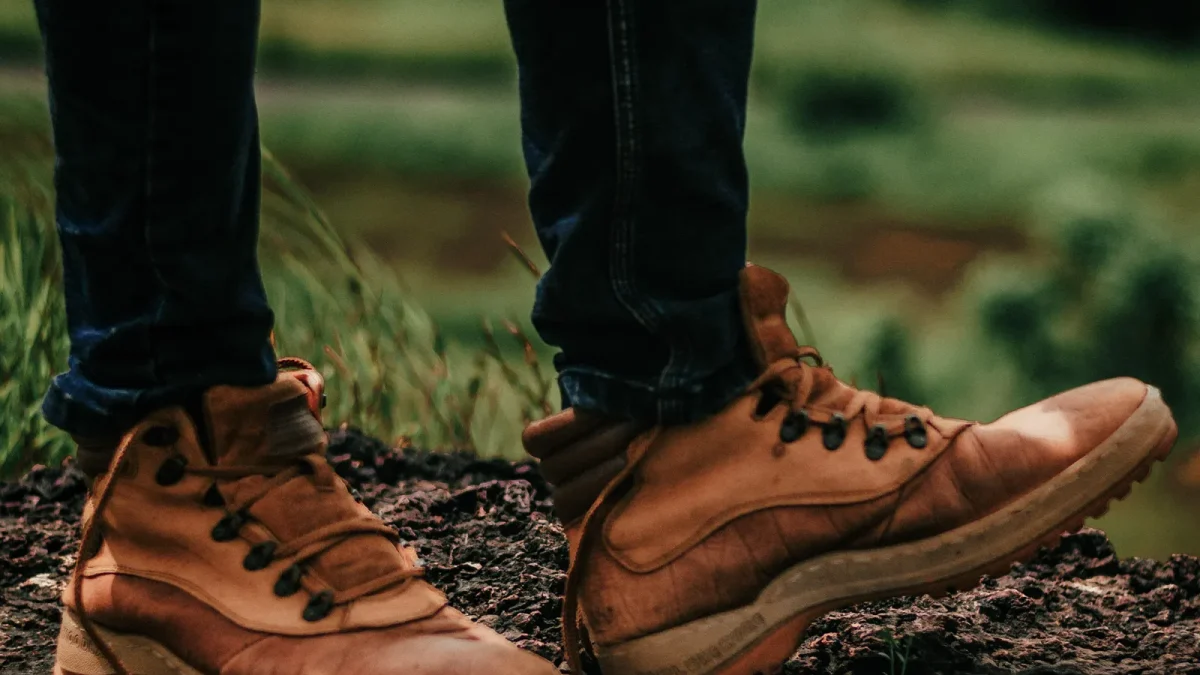
💡 Which upper is right for you?
Choose leather if you want a long-lasting boot for rough trails and heavy loads, and you don’t mind a longer break-in. Choose synthetic or mixed uppers if you want light, comfortable footwear for day hikes and warm weather.
Step 4: Do You Need a Waterproof Membrane?
Boots labeled “waterproof” usually have a thin membrane hidden inside the upper. Brands like GORE-TEX and eVent make these membranes, and many boot makers use their own. Examples include Merrell’s M Select DRY, Oboz’s B-DRY and KEEN.DRY. The membrane is designed to block liquid water while letting some sweat escape as vapor.
The catch is heat. REI notes that waterproof boots can get quite hot and are less breathable. AMC adds that membranes can increase heat and moisture inside your footwear in drier climates. So a membrane is a trade-off, not an automatic upgrade.
- Go waterproof if you hike in rain, mud, snow, wet grass or cold shoulder seasons.
- Skip the membrane if you mostly hike in hot, dry weather or want the most breathable footwear.
- Watch it over time. Cotswold Outdoor notes that if your socks get damp during normal walking, not just in deep puddles, the membrane has likely failed.
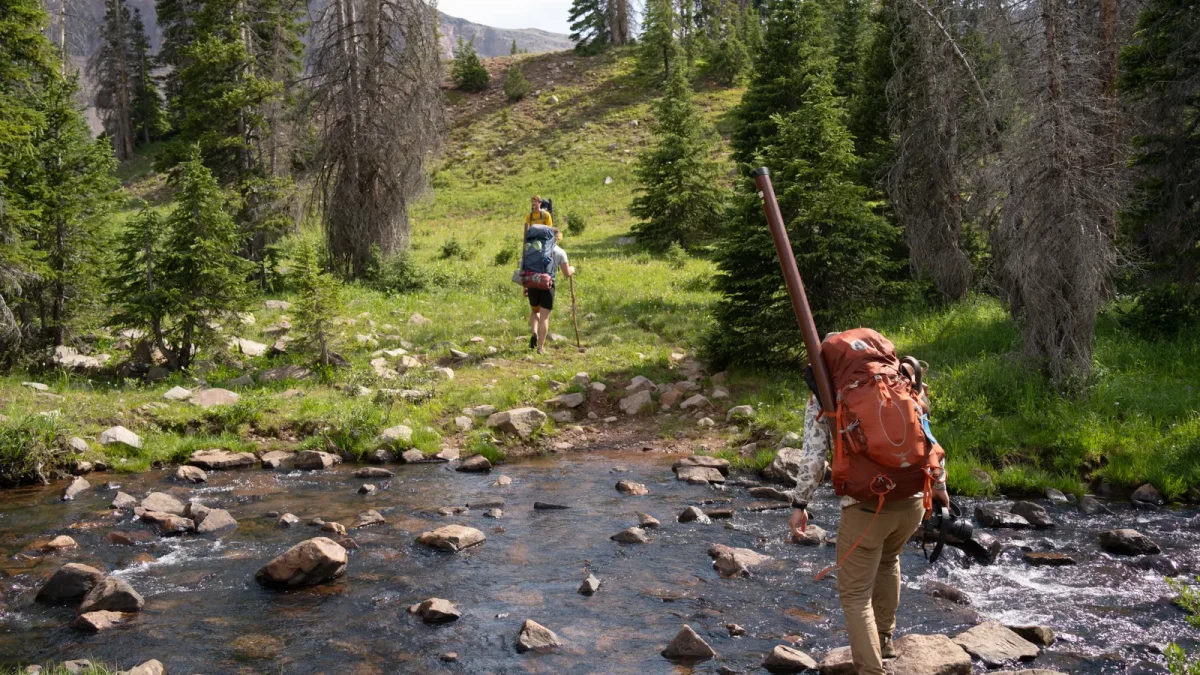
The outside of your boots matters too. Leather and fabric uppers have a water-repellent finish that wears off with use. When water starts soaking into the outside instead of beading up, clean the boots and re-treat them. Use a product made for your upper material, whether that’s smooth leather, rough leather or fabric.
💧 Waterproof isn’t the same as dry
A membrane keeps rain and puddles out, but your feet still sweat. On warm days, moisture can build up inside even the best waterproof boot. Take your boots off at long breaks to air your feet, and pack a spare pair of socks on longer hikes.
Step 5: Check the Midsole, Shank and Outsole
The sole is where comfort, support and grip come from. It has three main layers, and each one changes how the boot feels on the trail.
Midsole: cushioning and stiffness
The midsole sits between the insole and the rubber outsole. REI explains that it provides cushioning and largely decides how stiff a boot feels. Many midsoles use EVA foam. Some use polyurethane (PU), like LOWA’s DuraPU Monowrap frame, and some mix the two, like SCARPA’s Zodiac Plus. Softer midsoles feel comfy right away. Stiffer ones feel firmer, but AMC notes that stiffer soles add stability on uneven terrain.
Shanks, plates and chassis
Many boots add a shank, plate or chassis inside the sole. These are often made of nylon or TPU plastic. They add support and help the boot resist twisting on rocks. The Merrell Moab 3 uses a molded nylon arch shank, for example, while Oboz builds a TPU chassis into the Bridger’s outsole.
Outsole: grip
The outsole is the rubber you walk on. Lug depth and pattern affect how well a boot grips mud, loose dirt and wet rock. For reference, Merrell lists 5 mm lugs on the Moab 3 Mid. Many brands use Vibram rubber, while others use their own compounds, like Salomon’s Contagrip or KEEN.RUGGED.
Try this in the store: hold the boot by the heel and toe, then bend and twist it. A day hiking boot usually flexes easily at the ball of the foot. A backpacking boot resists much more. Neither is “better.” Pick the stiffness that matches your load and terrain.
Steps 6 and 7: Measure Your Feet and Test the Fit
This is the most important step. A boot that looks perfect on paper is useless if it rubs your heel or crushes your toes. Here’s how to test the fit before you buy, based on guidance from the American Academy of Orthopaedic Surgeons (AAOS) and AMC.
- Shop late in the day. AAOS says your feet may swell by up to 8% during the day, so it recommends buying shoes toward the end of the day.
- Measure both feet, standing up. AAOS suggests standing while you’re measured, because your body weight spreads your feet. Most people have one foot larger than the other, so fit the boot to the bigger one.
- Bring your hiking socks and insoles. Wear socks of the same thickness you’ll hike in, plus any insoles or orthotics you use.
- Do the finger test. With the boot unlaced, slide your foot forward until your toes touch the front. AMC says someone should fit roughly one finger between your heel and the back of the boot.
- Check toe room and width. Laced up, you should be able to wiggle your toes. AAOS recommends about half an inch between your longest toe and the tip of the shoe. Your foot shouldn’t slide side to side or feel pinched.
- Check the heel. Walk around and stand on your toes. Ideally your heel shouldn’t lift at all, though AMC says a quarter inch or less is acceptable.
- Walk on different surfaces. Try carpet, a hard floor and a ramp or slope if the store has one. Your toes shouldn’t hit the front on the way down.
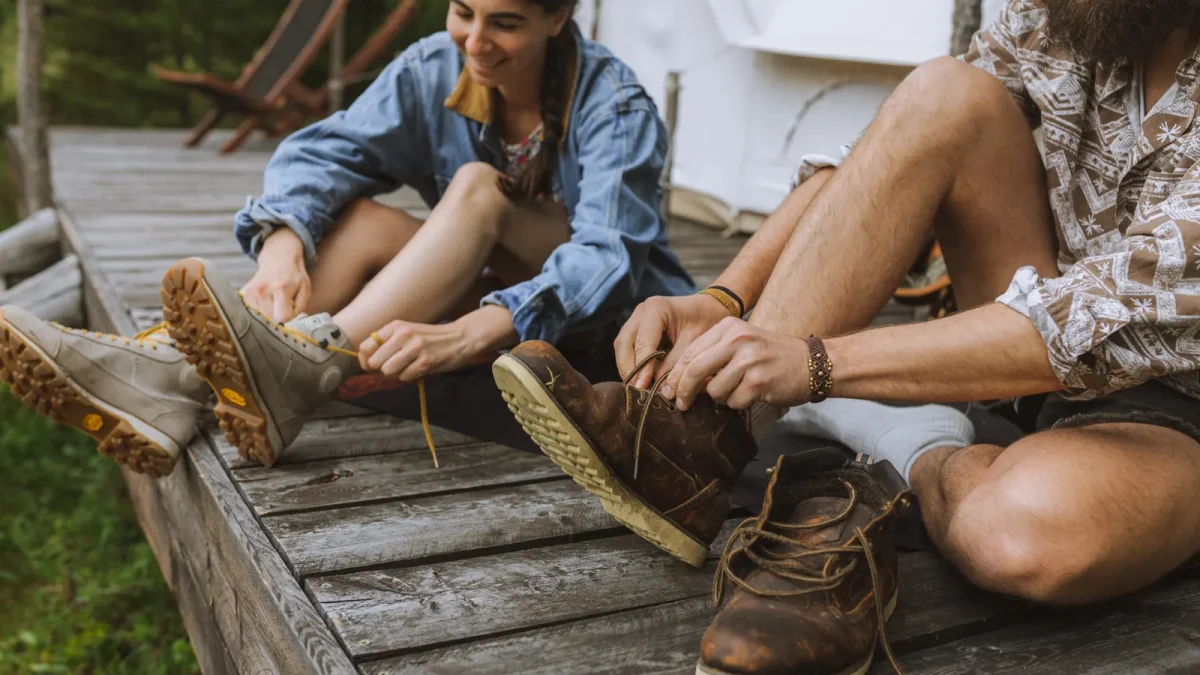
⚠️ Don’t count on boots stretching
AAOS advises against buying shoes that need to be stretched, or that need pads to stop your feet from slipping. AMC adds that length can’t be fixed later. If your toes touch the front, try the next size up instead of hoping the boot will give.
Width matters as much as length. If a boot feels tight across the ball of your foot, look for a wide version instead of sizing up. AAOS notes that shoes come in different widths, and AMC says women’s boots usually run narrower than men’s, especially in the heel. For every detail, including lacing tricks and break-in, read our full guide on how hiking boots should fit.
Fit beats every spec sheet. A mid-priced boot shaped like your foot will carry you farther, in more comfort, than a pricier boot that fights it.
Socks and Insoles: The Hidden Half of Fit
Socks and insoles take up space inside the boot, so they change the fit. Always try boots on with the exact socks and insoles you plan to use on the trail. AAOS makes the same point for all athletic shoes: wear the type of sock you’ll actually use for the activity.
Socks
Thick, cushioned socks fill more space than thin ones. That can work in your favor. AMC suggests trying thicker or thinner socks to fine-tune a boot’s width. Many hiking socks use merino wool or synthetic blends. Darn Tough, for example, makes its classic Hiker Micro Crew socks from merino wool and backs them with a lifetime guarantee.
Insoles
The insoles that come with boots vary a lot from brand to brand. An aftermarket insole can add arch support and a deeper heel cup. AMC even suggests insoles such as Superfeet’s to take up extra volume if your heel slips. Superfeet makes hiking-specific models, like Hike Support and Hike Cushion, and recommends them for boots with waterproof liners.
🦶 Foot pain? See a professional
This guide is general information, not medical advice. If you have ongoing foot pain, bunions, plantar fasciitis or numbness, see a podiatrist before you buy. They can recommend features, widths or custom orthotics that suit your feet.
Budget Tiers: What You Get for Your Money
We don’t list prices here, because they change constantly. But hiking boots fall into three broad levels. Knowing what each level gives you helps you spend where it counts.
| Level | Typical build | What you gain | Best for | Example |
|---|---|---|---|---|
| Entry level | Suede or synthetic and mesh upper; brand’s own membrane; simple shank | Comfort out of the box and lighter weight | New hikers and casual day hikes | Merrell Moab 3 Mid Waterproof |
| Mid-range | Leather upper; chassis or plate; better insole; more width options | Best value for most More support, protection and durability | Regular hikers, rocky trails and light backpacking | Oboz Bridger Mid Waterproof |
| Premium | Quality leather; GORE-TEX lining; PU frame; repair options | Longest life and the most support under load | Frequent hikers and backpackers | LOWA Renegade GTX Mid |
Where should your money go? Spend on fit first, then on the features your hikes truly need. A premium backpacking boot is overkill for a gravel nature trail. A soft entry-level boot, on the other hand, can feel flimsy under a heavy multi-day pack.
Repairable boots can also save money over time. LOWA, for example, lists repair options such as hook repair, heel replacement and cuff repair. Cotswold Outdoor notes that stitched or welted soles can often be replaced by a cobbler, while glued soles are usually better replaced outright. Ask about repairs before you buy if you want your boots to last for years.
Step 8: Break In Your New Boots the Right Way
Even great boots need a little time to learn your feet. REI suggests a gradual plan that moves from your living room to the trail.
- Start at home. Wear the boots around the house with the socks and insoles you’ll hike in. Lace them snugly, but not too tight, and make sure the tongue sits straight.
- Take them around town. Walk around the block and wear them on errands. Increase the distance only when each stage feels good.
- Hit the trail with a daypack. Off-pavement walking is where the real break-in happens. Add weight and miles a little at a time.
- Fix hot spots early. Small rubs turn into big blisters fast. Adjust your lacing or socks at the first sign of trouble.
How long does it take? It depends on the boot. REI notes that light hikers may feel perfect straight out of the box, while burly leather boots may need weeks. Skip shortcuts like soaking your boots and then walking long distances in them. REI warns that’s hard on both your boots and your feet.
💡 Check the return policy first
Before you buy, ask how returns and exchanges work. Testing new boots indoors for a few days keeps them clean in case you need to swap sizes.
When to Replace Your Hiking Boots
Boots don’t last forever. Sierra and Cotswold Outdoor both put the typical life of quality hiking boots at about 500 to 1,000 miles. Where you land depends on your weight, the terrain and how well you care for them. Cotswold adds that this works out to roughly one to three years for someone walking a few times a month.
Watch for these signs that your boots are wearing out:
- Worn tread. Cotswold says grip drops off once lugs wear down to a couple of millimeters, or when you start slipping on ground that used to feel secure.
- A flat or cracked midsole. Sierra notes that cracks or strong compression lines mean the midsole no longer gives the cushioning and support you need.
- Leaks. Damp socks during normal walking suggest the membrane has failed.
- Upper damage. Split seams, pulled stitching or loose eyelets make the boot harder to lace and less supportive.
- New aches. Sierra lists blisters, aching feet, joint pain and hot spots as signs your footwear may be worn out.
Before you retire a favorite pair, ask whether it can be repaired. If the upper and waterproofing are still solid, a new sole may add more life. If not, it’s time to start this buying process again, and now you know exactly how to do it.
Boots Worth a Look at Each Budget Level
These three boots show what each level offers. We chose them based on published specs, reviews and fit options, and nobody paid for a spot here. Each one was listed on Amazon.com when we checked in September 2026. For more options, see our guide to the best hiking boots.
🌱 Great first boot
Merrell
Merrell Moab 3 Mid Waterproof Hiking Boot
An entry-level mid boot that covers the basics and needs little break-in.
The Moab 3 Mid is an easy place to start. Its pig suede and mesh upper, waterproof membrane and molded nylon arch shank cover the basics for day hikes. OutdoorGearLab called it very comfortable for its price and found it needs little to no break-in.
- Comfortable with little break-in, according to published reviews
- Wide widths for men and women
- Vibram TC5+ outsole with 5 mm lugs
- Waterproof membrane for wet trails
| Weight | 1 lb 1.45 oz (495 g) per boot |
|---|---|
| Drop | 11.5 mm |
| Lug depth | 5 mm |
| Upper | Pig suede leather and mesh |
| Shank | Molded nylon arch shank |
Best for: new hikers and casual day hikes. Durability is only average, since published reviews note that seams and lace loops can fray after a few seasons.
🛒 Buy from Amazon Men’s link. Prefer the women’s Moab 3 Mid Waterproof? Check sizes and today’s price on Amazon.
🧭 Mid-range all-rounder
Oboz
Oboz Bridger Mid Waterproof (B-DRY)
A supportive leather mid with a firm insole and wide sizes.
The Bridger Mid shows what a step up in budget buys. Oboz pairs a waterproof leather upper with a Granite Peak outsole that includes a lightweight TPU chassis and a rubber toe guard. Its O FIT insole has a deep heel cup and medium-to-high arch support, and the boot comes in standard and wide widths.
- Supportive insole with a deep heel cup
- TPU chassis and rubber toe guard
- Standard and wide widths
- B-DRY lining made from 100% recycled materials
| Weight | 19.0 oz (538 g), as listed |
|---|---|
| Drop | 12 mm |
| Waterproofing | B-DRY |
| Insole | O FIT triple-density EVA |
| Widths | Standard (D) and wide (EE) forefoot |
| Recommended use | Longer day hikes and backpacking |
Best for: regular hikers on rocky trails who want more support. Oboz lists a medium-high volume, so it may feel roomy on narrow, low-volume feet.
🛒 Buy from Amazon Men’s link. Prefer the women’s Bridger Mid B-DRY? Check sizes and today’s price on Amazon.
🏔️ Premium pick
LOWA
LOWA Renegade GTX Mid Hiking Boot
A long-running leather classic with a GORE-TEX lining and repair options.
The Renegade shows what premium money buys: a nubuck leather upper, a GORE-TEX lining and a DuraPU Monowrap frame that cradles your foot. LOWA rates it moderately stiff and recommends it for multi-day and long-distance hikes. It also lists repair options, from hook repair to heel replacement, which can stretch the life of your boots.
- GORE-TEX lining for wet weather
- Monowrap frame adds stability
- Repair options from LOWA
- Tall shaft for extra ankle coverage
| Upper | Nubuck leather |
|---|---|
| Lining | GORE-TEX |
| Midsole | DuraPU Monowrap frame |
| Outsole | Vibram Evo |
| Shaft height | 147 mm outside |
| Stiffness | Moderately stiff (LOWA rating) |
Best for: frequent hikers and light backpacking. Leather and a waterproof lining can feel warm on hot days, and leather needs more break-in than lighter boots.
🛒 Buy from Amazon Men’s link. Check sizes, widths and today’s price on Amazon.
Prices and stock change often, so check each listing before you buy. As an Amazon Associate, HikingCare earns from qualifying purchases, at no extra cost to you.
Common Mistakes When Buying Hiking Boots (and How to Fix Them)
Most boot regrets come from a handful of common mistakes. The good news is that each one is easy to avoid.
1. Buying for looks or brand
❌ The mistake: choosing a boot because it looks rugged or a friend loves it.
✅ The fix: fit comes first. Every foot is different, so try several brands and models and buy the one that fits yours.
2. Shopping first thing in the morning
❌ The mistake: trying boots on when your feet are at their smallest.
✅ The fix: shop late in the day. AAOS says feet may swell by up to 8% during the day, and boots that fit in the morning can pinch by evening.
3. Wearing the wrong socks to the store
❌ The mistake: trying on boots in thin everyday socks.
✅ The fix: bring the hiking socks and insoles you’ll really use. Their thickness changes the fit.
4. Sizing up to get more width
❌ The mistake: buying a longer boot because the regular size feels tight across the foot.
✅ The fix: look for a wide version instead. A boot that’s too long lets your foot slide, which can cause blisters and bruised toes.
5. Buying too much, or too little, boot
❌ The mistake: heavy mountaineering boots for easy trails, or soft shoes for a heavy backpacking trip.
✅ The fix: match the type to your hikes. Use the table in Step 2 to find your best fit.
6. Skipping the break-in
❌ The mistake: wearing brand-new boots on a long hike.
✅ The fix: follow a gradual break-in plan, from the house to town to short trail hikes, before any big trip.
Pro Tips for a Smarter Boot Purchase
These habits come up again and again in expert advice. None of them cost extra, and all of them make it more likely you’ll love your new boots.
- Try before you buy online. If you plan to order online, try the same model in a store first so you know your size.
- Don’t assume your size. Always try boots on, even in a brand you’ve worn before.
- Fit your bigger foot. Most people have one foot larger than the other, so fit that one.
- Bring your extras. Take along your orthotics, insoles or ankle brace if you use them.
- Use the store’s ramp. Walk down any slope or ramp. If your toes hit the front, the boot is too short or too loose.
- Buy early. Get new boots several weeks before a big trip so you have time to break them in.
- Clean and re-treat. Brush off mud after hikes and re-apply a water-repellent treatment made for your upper.
One more tip: write down the model, size and width that works for you. Boot models get updated over time, but knowing your starting point makes your next purchase much quicker. Our free Gear Planner is a handy place to keep track of your kit.
Real-World Examples: Three Common Buyer Stories
These are composite examples built from patterns hikers commonly share in reviews, trail journals and online communities. They’re not individual testimonials, but they show how the steps work in real life.
What these three buyers have in common: each one started with their hikes, not the shoe wall. They chose features that matched their trails, tested the fit carefully and gave their boots time to settle in. That simple order is the secret to buying boots you’ll love.
Frequently Asked Questions
What size hiking boots should I buy?
Buy the size that fits, not the number on your everyday shoes. AAOS recommends about half an inch between your longest toe and the tip of the shoe. AMC suggests about one finger of space behind your heel when your toes touch the front.
Should hiking boots be waterproof?
If you often hike in rain, mud, snow or wet grass, a waterproof membrane helps keep your feet dry. If you mostly hike in hot, dry weather, you may prefer non-waterproof footwear, because REI notes waterproof boots can get hot and are less breathable.
How long does it take to break in hiking boots?
It depends on the boot. REI notes that light hikers may feel great out of the box, while burly leather boots may need weeks. Start at home, then walk around town, then take short hikes with a daypack.
How long do hiking boots last?
Sierra and Cotswold Outdoor put the typical life of quality hiking boots at about 500 to 1,000 miles. Your weight, the terrain and how well you care for your boots all make a difference. Replace them when the tread, midsole or waterproofing wears out.
Is it OK to buy hiking boots online?
Yes, if you already know your size in that exact model. Measure your feet late in the day, check the return policy and test the boots indoors first. If anything rubs or pinches, exchange them before you wear them outside.
Your Boot-Buying Checklist
Use this checklist on shopping day and again during break-in. Work from top to bottom. Each step builds on the one before, from choosing the right type to wearing your boots on their first real hike.
Tap each item as you complete it. Your progress is saved in this browser.
- List your typical hikes: distance, terrain, weather and pack weight
- Choose a footwear type that matches those hikes
- Decide on leather, synthetic or a mix
- Decide whether you need a waterproof membrane
- Shop late in the day with your hiking socks and insoles
- Measure both feet standing up and fit the bigger one
- Do the finger test and check for half an inch of toe room
- Walk, stand on your toes and try a ramp to check heel lift
- Confirm the return or exchange policy
- Break in your boots gradually before any big trip
The Bottom Line
Learning how to buy hiking boots comes down to a simple order. Start with your hikes, choose the right type, then pick materials, waterproofing and sole stiffness to match. Most important of all, test the fit late in the day with your hiking socks, and don’t settle for a heel that slips or toes that touch.
Once you’ve found your pair, break it in slowly and keep an eye on the tread, midsole and waterproofing. Do that, and your boots will carry you comfortably for hundreds of happy miles.
🥾 Plan the rest of your hiking kit
Use our free tools to build your gear list and trip checklist. No sign-up needed.
Keep reading: the best hiking boots, how hiking boots should fit and a simple beginner hiking setup.
Sources
- AAOS OrthoInfo: Shoes: Finding the Right Fit
- AAOS OrthoInfo: Athletic Shoes
- Appalachian Mountain Club: New Hiking Boots? How to Check (and Adjust) the Fit
- Appalachian Mountain Club: Hiking Footwear 101
- Appalachian Mountain Club: Hiking Boots vs. Hiking Shoes vs. Trail Runners
- REI Expert Advice: How to Choose Hiking Boots and Hiking Shoes
- REI Expert Advice: How to Break in Your Hiking Boots
- REI Expert Advice: How to Waterproof Boots
- Sierra: When to Replace Your Hiking Boots and Trail Shoes
- Cotswold Outdoor: When to Replace Your Walking Boots
- Superfeet: Hiking insoles
- Darn Tough: Hiker Micro Crew Midweight Hiking Socks
- Merrell: Moab 3 Mid Waterproof
- Oboz: Bridger Mid Waterproof
- LOWA: Renegade GTX Mid
- OutdoorGearLab: Merrell Moab 3 Mid Waterproof review
Facts checked in September 2026. Models, specs and store policies change, so confirm details before you buy.
You may also like
Are Combat Boots Good for Hiking? An Honest Answer (2026)
Combat boots can handle short, rough or cold hikes, but most are heavier, stiffer and hotter than hiking boots. Here’s how they…

Best Hiking Boots in 2026: How to Choose the Right Pair
How to pick hiking boots that suit your trails: grip, ankle support, waterproofing, weight and sizing — plus when a trail runner…

Trail Runners vs Hiking Boots: Which Should You Buy?
Trail runners vs hiking boots — the honest comparison. When to pick each, the durability question, and what most hiking forums get…

Get better at hiking.
Practical hiking tips, gear guides, trail advice and outdoor stories, delivered occasionally. No spam, unsubscribe any time.