Hiking First Aid Kit: What to Pack and Why (2026 Guide)
What actually belongs in a hiking first aid kit? See contents by trip type, detailed blister and wound care, five real products, and why wilderness first aid training is worth it.
HikingCare is reader-supported. When you buy through links on our site we may earn a commission at no extra cost to you. How we choose what to recommend.
🩹 Quick answer
What should be in a hiking first aid kit? Wound care, blister supplies, basic medication and a few tools, sized to your trip length and group size, packed in a small waterproof bag.
This guide covers what to pack for a day hike, an overnight trip, a group and a remote trip, plus how to treat blisters, clean a cut and handle a sprain. It is general information, not medical advice.
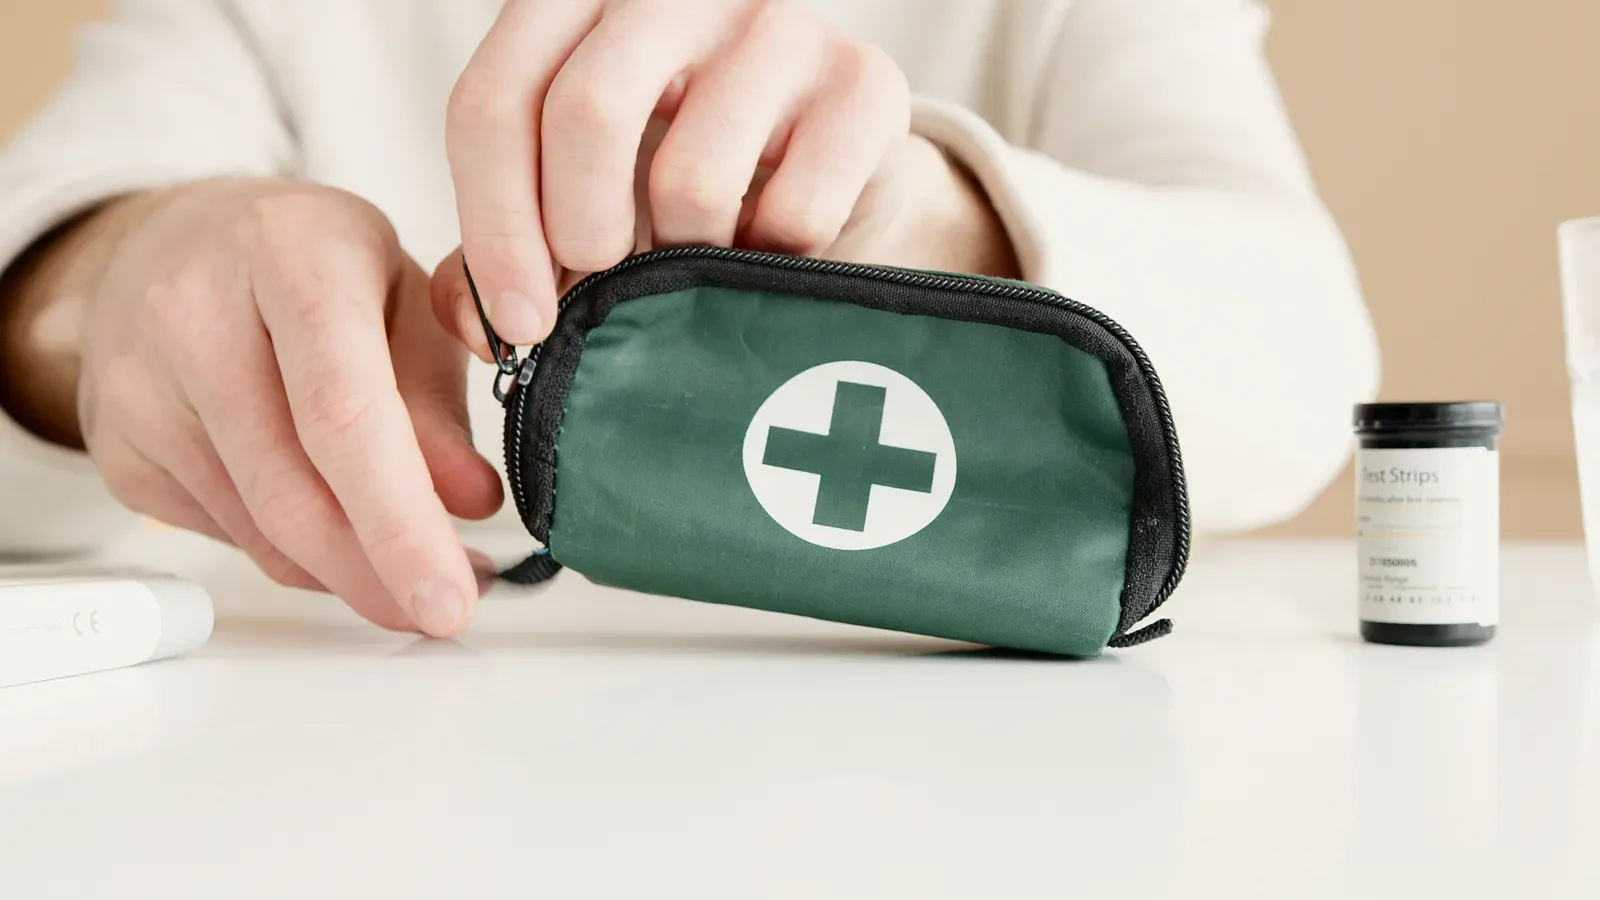
*My Medic MyFAK Mini Amazon listing, checked September 2026.
A twisted ankle or a deep blister can turn a good hike into a slow, painful walk out. Most of the time, a small kit and a little know-how is all it takes to keep going, or to get out safely.
The hard part is knowing what to actually pack. Too little, and you’re stuck improvising with a bandana. Too much, and your kit becomes dead weight you never open. This guide breaks it down by trip type, walks through the injuries hikers deal with most, and explains when a pre-made kit makes sense and when to build your own.
We are not doctors, and this article is not a substitute for training or professional care. Where we cover health topics, we lean on guidance from the American Red Cross, NOLS and the Wilderness Medical Society, and we say so.
Here’s what you’ll get from this guide:
- A contents list for day hikes, overnight trips, groups and remote trips
- Detailed, general-information guidance on blister care, wound cleaning and sprains
- Plain-English notes on over-the-counter items and prescription medication like epinephrine
- Five real products: pre-made kits plus two items worth adding on their own
- A clear look at building your own kit versus buying one, and how to keep it fresh
- Why wilderness first aid training is worth the weekend, and who teaches it
The Short Answer: What Goes In a Hiking First Aid Kit
A solid hiking first aid kit covers four jobs: stopping small bleeding, treating blisters, supporting a sprain, and carrying a few general medications. Everything else is extra weight for extra peace of mind.
At a minimum, that means adhesive bandages, gauze pads, medical tape, antiseptic wipes, blister pads or moleskin, an elastic wrap, tweezers and a pair of gloves. Add any personal medication you use regularly, plus a written list of allergies and emergency contacts.
⚠️ This is general information, not medical advice
Nothing in this guide replaces training, a doctor’s advice or emergency care. For anything beyond a minor scrape, blister or sprain, see a healthcare professional, and call emergency services for a serious injury.
How much you pack depends on how far you’ll be from help. A short, popular day hike near a trailhead needs less than a remote, multi-day trip with no cell signal. We’ll walk through both ends of that range next.
Weight matters too. A kit you leave at home because it’s bulky helps nobody, so most experienced hikers repack their supplies into a smaller, lighter waterproof bag rather than carrying a kit’s original box or case. The goal is a kit small enough to bring on every trip, not just the big ones.
What to Pack, by Trip Type
The Red Cross frames it simply: what belongs in your kit depends on how long you’ll be out, how many people you’re hiking with, and how far you are from help. A short trip near the trailhead needs less than a week in the backcountry.
Use this table as a starting point, then adjust for your own health needs, the season and the terrain. Each column builds on the one before it, so a “remote” kit includes everything in “group” plus more.
| Category | Day hike | Overnight | Group | Remote / multi-day |
|---|---|---|---|---|
| Wound care | Bandages, gauze, tape, antiseptic wipes | Add more gauze, non-stick pads | Add extra for each person | Add wound irrigation syringe, larger trauma pad |
| Blister care | Moleskin or blister pads, tape | Same, plus a spare pair of socks | Pack enough for the whole group | Add a full roll of strapping tape |
| Sprains and fractures | Elastic wrap | Elastic wrap, instant cold pack | Same as overnight | Add a rigid, moldable splint |
| Medication | Any personal medication | Add general pain and allergy relief | Ask about allergies in advance | Add anti-diarrheal and rehydration salts |
| Tools | Gloves, tweezers, small scissors | Same, plus a thermometer | Same for the group leader’s kit | Add a whistle and a printed guide |
| Documentation | Emergency contact card | Add a basic first aid guide | Important List each person’s allergies | Add a written evacuation plan |
🥾 Common hiking injuries, in order
According to the Red Cross, falls are the most common cause of hiking injury, often from tripping or slipping on wet rock. Joint injuries like sprains, strains and tendonitis follow close behind, alongside blisters and minor cuts.
A group leader’s kit should scale with the group, not just the leader’s own needs. Ask each person about allergies and medical conditions before the trip, and note it on a card kept with the kit. For remote trips, the longer help would take to arrive, the more you should add: extra medication, better bleeding control, and a printed guidebook in case a phone is dead or wet.
Blister Care, In Detail
Blisters are the single most common complaint on long hikes, and they’re almost always preventable. Prevention starts before you ever feel a hot spot.
Mayo Clinic’s first aid guidance recommends wearing well-fitting shoes, choosing moisture-wicking socks over cotton, and taping known problem spots with athletic or duct tape before you start walking. Gel-filled blister pads or moleskin placed inside the shoe add extra padding at friction points.
💡 Stop at the first hot spot
A “hot spot” is a warm, reddened patch of skin that hasn’t blistered yet. Stop walking as soon as you notice one, dry your foot, and cover the spot with tape or a blister pad before it becomes a full blister.
If a blister has already formed, Mayo Clinic’s guidance describes how it can be safely drained if it’s painful: wash your hands and the blister with soap and water, clean a needle with an antiseptic wipe or rubbing alcohol, and prick the blister in a few spots near its edge. Let the fluid drain, but leave the overlying skin in place rather than peeling it off, since it protects the raw skin underneath. Apply an antibiotic ointment or petroleum jelly, then cover it with a non-stick bandage or gauze pad.
Small, unbroken blisters that aren’t painful are often best left alone and simply padded around, since the skin itself is the best cover you have. Change the bandage daily, and after a few days, Mayo Clinic notes that the dead skin can be trimmed away with tweezers and small scissors cleaned with alcohol.
🚩 Watch for infection
Mayo Clinic advises seeing a healthcare professional if a blister looks infected: signs include redness spreading out from the wound, increasing pain, swelling, pus, or skin that feels warm to the touch.
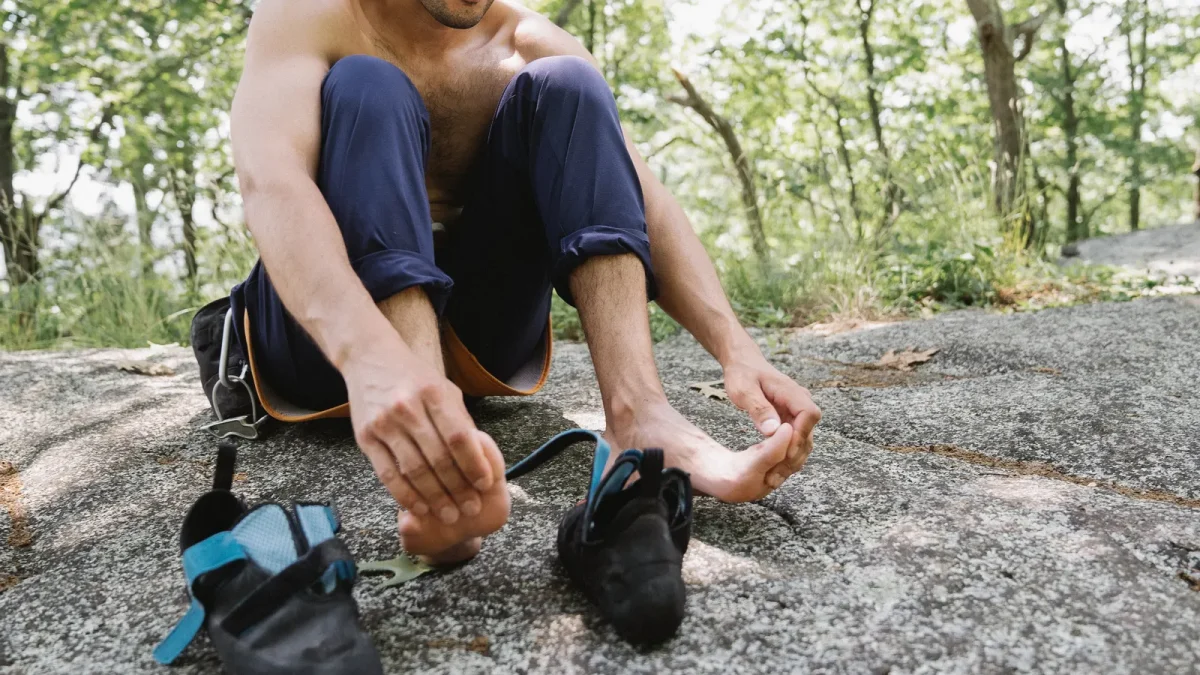
Blister prevention tape, like the Leukotape P covered below, is worth carrying even if you never treat a single blister on a given trip. A few minutes of taping a known trouble spot before you start walking is far easier than treating one three miles in.
Cleaning and Treating Cuts and Scrapes
Most trail wounds are minor: a scrape from a rock, a cut from a branch, a nick from cooking gear. Standard first aid guidance keeps the process simple.
- Wash your hands first. Use soap and water, or hand sanitizer if water isn’t available, before touching the wound.
- Stop the bleeding. Apply gentle, direct pressure with a clean gauze pad or cloth until bleeding slows.
- Rinse the wound with clean water. Running water helps flush out dirt and lowers infection risk. Wash the skin around the wound with soap, but avoid getting soap directly in the wound itself.
- Remove visible debris. Use tweezers cleaned with alcohol to lift out small pieces of grit or splinters you can see.
- Apply a thin layer of antibiotic ointment or petroleum jelly. This keeps the surface moist, which supports healing and can help reduce scarring.
- Cover it. Use an adhesive bandage or a gauze pad held in place with paper or cloth tape, and change it daily or whenever it gets wet or dirty.
ℹ️ What to skip
General first aid guidance advises against pouring hydrogen peroxide or iodine directly into a wound, since both can irritate healthy tissue and may slow healing. Clean water and mild soap around the wound are usually enough.
Some wounds need more than a bandage. See a doctor or go to urgent care for a wound that is deep, won’t stop bleeding after 10 minutes of direct pressure, has jagged or gaping edges, came from a dirty or rusty object, or shows signs of infection such as spreading redness, warmth, swelling or pus. Any wound from an animal bite also needs medical attention.
A first aid kit doesn’t need to handle every possible injury. It needs to handle the ones that are actually common, and buy you time and stability for the ones that aren’t.
Sprains and Strains on the Trail
Uneven ground, loose rock and tree roots make ankles and knees the most commonly twisted joints on a hike. The Red Cross notes that joint-related injuries like sprains, strains and tendonitis are among the most common hiking injuries, right behind falls.
For a straightforward sprain, Mayo Clinic’s first aid guidance describes the well-known RICE approach as a general framework:
- Rest: avoid putting weight on the injured joint.
- Ice: apply a cold pack for short periods to help limit swelling, always with a cloth between the ice and the skin.
- Compression: wrap the area with an elastic bandage to help control swelling, without wrapping so tight that it cuts off circulation.
- Elevation: raise the injured limb above heart height when you can.
On the trail, that often means propping a foot up on a pack, wrapping the joint with an elastic bandage, and deciding whether you can walk out slowly or need help. A rigid, moldable splint, like the SAM Splint covered below, can stabilize a more serious sprain or a suspected fracture for the walk or carry out.
⚠️ When a sprain might be something more
Mayo Clinic’s guidance notes that a healthcare professional should evaluate an injury if you can’t bear any weight on it, if the joint looks deformed, if numbness is present, or if pain and swelling are severe. Those can be signs of a fracture or a more serious injury than a simple sprain.
Trekking poles can help take pressure off a sore ankle or knee on the hike back to the trailhead. If a sprain happens early on a multi-day trip, a slow, supported walk out is almost always the safer choice over pushing on to the next camp.
Over-the-Counter Items and Prescription Medicine
Most hiking first aid kits include a few general categories of over-the-counter products. We’re describing categories here, not doses. Always read the package directions, and check with a pharmacist or doctor if you’re not sure something is right for you.
- Pain and fever relief: common options include ibuprofen, acetaminophen or aspirin, each with its own warnings and interactions.
- Antihistamines: used for mild allergic reactions, itching or insect bites.
- Anti-diarrheal medication: useful for stomach upset from food or water on longer trips.
- Antacids: for indigestion, common after heavy trail meals.
- Hydrocortisone cream: for insect bites, rashes or itching.
- Oral rehydration salts or electrolyte tablets: useful in hot weather or after a bout of vomiting or diarrhea.
Pack these in their original labeled containers or a clearly marked small bag, and note anything you or a hiking partner takes regularly, along with known allergies, on a card kept inside the kit.
💊 Prescription items come from a doctor
Some hikers carry prescription devices, such as an epinephrine auto-injector for a known severe allergy. These are prescribed and explained by a doctor, and only the person they’re prescribed for, or someone trained to help them, should be relying on them. If you or a family member carries one, follow your doctor’s and pharmacist’s instructions exactly, keep it accessible, and make sure hiking partners know where it’s stored and that a severe allergic reaction always needs an emergency call, even after it’s used.
This is exactly the kind of situation formal training helps with. A short wilderness first aid course teaches you how to recognize a serious allergic reaction, a developing infection or a sprain that needs evacuation, which is far more useful than any single item in a kit. More on that in a moment.
Pre-Made Kits and Key Items Worth Adding
These five picks cover a spread: two pre-made kits sized for different trip lengths, a compact modular kit, and two individual items worth adding to any kit. We chose them using manufacturer information and official Amazon listings checked in September 2026, not personal testing.
🎒 Best for day hikes
Adventure Medical Kits
Adventure Medical Kits AMK Ultralight/Watertight .7 Kit
A pocket-sized kit Adventure Medical Kits builds for one or two people on a short trip.
The .7 is Adventure Medical Kits’ smallest general hiking kit, built around wound care and blister relief rather than trying to cover everything. Its two-stage waterproofing, a sealed inner DryFlex bag inside a water-resistant outer pouch, keeps contents dry even if your pack gets soaked.
- Small enough to disappear into a hip belt or lid pocket
- Includes die-cut moleskin sized for common blister spots
- Waterproof inner bag protects contents from rain and stream crossings
- Covers basic wound and sprain care in one light package
| Rated for | 1–2 people, 1–4 days (per Adventure Medical Kits) |
|---|---|
| Weight | 5.8 oz (per Adventure Medical Kits) |
| Waterproofing | DryFlex inner bag, DWR-treated outer |
Best for: day hikers and short overnight trips who want basic coverage without added bulk. It’s not built for a serious trauma or a large group.
🛒 Buy from Amazon Check today’s price on Amazon.
🏕️ Best for overnight trips
Adventure Medical Kits
Adventure Medical Kits Mountain Series Hiker Medical Kit
A step up in supplies, with a trauma pad and a printed wilderness guide.
The Mountain Series Hiker adds a trauma pad and elastic bandage for more serious bleeding, plus a printed wilderness first aid guide book you can read even with a dead phone. Its Easy Care organization system uses labeled pockets so you can find what you need without dumping the whole kit out.
- Trauma pad and elastic bandage for heavier bleeding
- Printed wilderness first aid guide book included
- Labeled, organized pockets inside a water-resistant bag
- Sized for a weekend trip rather than a single day
| Rated for | Up to 2 people, about 2 days |
|---|---|
| Includes | Trauma pad, elastic bandage, guide book |
| Bag | Water-resistant, labeled compartments |
Best for: weekend backpackers who want more coverage than a day-hike kit without jumping to a full expedition kit. Two people push its limits on a longer trip.
🛒 Buy from Amazon Check today’s price on Amazon.
🧳 Most compact modular kit
My Medic
My Medic MyFAK Mini First Aid Kit
About 70 items organized into small, labeled waterproof pouches.
The MyFAK Mini splits its roughly 70 items into individual waterproof zip pouches, called MODs, for wound care, burns, medication, sprains and tools. That layout makes it easy to pull just the pouch you need, or to swap a MOD out entirely as you restock.
- About 70 items sorted into labeled waterproof pouches
- Individual MODs make it easy to restock only what you used
- Covers wound, burn, medication, sprain and tool categories
- Compact enough for day hikes, roomy enough for a weekend
| Item count | About 70 items |
|---|---|
| Dimensions | About 9 x 6 x 5 in |
| Weight | About 2 to 2.7 lb |
| Organization | Individual waterproof MOD pouches |
Best for: hikers who like a modular system they can restock piece by piece. It’s heavier than the AMK options above for a similar job.
🛒 Buy from Amazon Check today’s price on Amazon.
🦴 Best for sprains and splinting
SAM Medical
SAM Splint, 4 x 36 Inch, Standard Size
A moldable foam-and-aluminum splint that rolls up to the size of a bandana.
The SAM Splint is a thin aluminum core sandwiched between two layers of closed-cell foam. Bend it into a curved shape and it holds that shape, which lets you form a rigid support around an ankle, wrist or arm without carrying a bulky pre-formed brace.
- Moldable by hand into a rigid support shape
- Reusable, and the surface can be cleaned between uses
- Can be trimmed to size with ordinary scissors
- Rolls flat and light enough to carry on every trip
| Size | 36 x 4.25 in |
|---|---|
| Weight | About 4 oz |
| Material | Aluminum core, closed-cell foam layers |
| Reusable | Yes, wipe clean between uses |
Best for: group and remote kits where a sprained joint or a suspected fracture needs support during evacuation. It’s a support tool, not a substitute for medical evaluation.
🛒 Buy from Amazon Check today’s price on Amazon.
🩹 Best blister prevention tape
Leukotape
Leukotape P Adhesive Strapping Tape, 1.5 in x 15 yds
A rigid, high-strength tape long-distance hikers use to tape hot spots before they blister.
Leukotape P is a stiff, zinc-oxide-adhesive strapping tape rather than a soft bandage. Once it’s pressed onto clean, dry skin, it tends to stay put through sweat and stream crossings far longer than standard adhesive bandages, which is why it shows up often in thru-hiker gear lists.
- Strong zinc-oxide adhesive resists sweat and moisture
- Tears by hand, so you don’t need scissors on the trail
- Rigid weave limits skin movement over a hot spot
- One roll covers many applications across a long trip
| Size | 1.5 in x 15 yds |
|---|---|
| Adhesive | Zinc oxide, rigid strapping tape |
| Color | Tan |
| Tear style | Hand-tearable, no scissors needed |
Best for: hikers who get repeat blisters in the same spots. It’s a rigid tape, so it can irritate very sensitive skin; test it at home before a big trip.
🛒 Buy from Amazon Check today’s price on Amazon.
Prices and stock change often, so check each listing before you buy. As an Amazon Associate, HikingCare earns from qualifying purchases, at no extra cost to you.
Build Your Own Kit vs. Buying a Pre-Made One
Both approaches work. The right one depends on how much time you want to spend assembling and maintaining a kit yourself.
| Buying a pre-made kit | Building your own | |
|---|---|---|
| Time to get started | Fastest Ready right out of the box | Takes longer to gather everything |
| Fit to your needs | General-purpose by design | Matched exactly to your trips and health needs |
| Cost to restock | Often cheaper to replace as a bundle | You control exactly what you re-buy |
| Best for | New hikers, gifts, backup kits | Frequent hikers with specific needs or allergies |
A practical middle ground: start with a pre-made kit like the ones above, then customize it. Add your own medication, remove anything you’ll never use, and swap in a bit more of whatever your body actually needs, like extra blister tape or joint support.
✨ Build around your own history
If you get blisters on every hike, pack more moleskin and tape than a generic kit includes. If you have a history of ankle sprains, add a second elastic wrap. Your own pattern of injuries is the best guide to what your kit actually needs.
Whichever route you choose, repack everything into a smaller, lighter waterproof bag if the kit’s original packaging is bulky. A first aid kit only helps if it’s light enough that you actually bring it.
Restocking and Expiry Checks
A first aid kit is not a “buy it once” item. Bandages fall out, ointment gets used, and medication has an expiration date printed right on the package.
- Check your kit after every trip. Replace anything you used before you forget what’s missing.
- Set a seasonal reminder. Twice a year is enough for most hikers: check dates, and look for anything that leaked, melted or dried out.
- Read every expiration date. Ointments, medication and some adhesives lose effectiveness over time, even if the packaging looks fine.
- Check the bag itself. Zippers fail and waterproof seals wear out faster than the supplies inside them.
- Refill from a full-size bottle at home. It’s cheaper than buying single-use travel packs every time.
💡 Keep a simple restock list
Tape a small checklist to the inside of your kit, or keep one on your phone, listing exactly what belongs inside. After a trip, it takes thirty seconds to check the list and reorder anything you used.
Why Wilderness First Aid Training Is Worth It
A kit is only as useful as the person using it. Reading this guide is a good start, but it’s no substitute for real training, especially if you hike somewhere far from quick help.
Several organizations teach exactly this. The American Red Cross offers a Wilderness and Remote First Aid course built for scouts, guides and outdoor enthusiasts who may be hours from emergency medical services. NOLS Wilderness Medicine teaches a range of courses, from a 20-hour Wilderness First Aid class up to the 80-hour Wilderness First Responder certification, covering patient assessment, wound management, splinting and evacuation decisions. The Wilderness Medical Society, a group of physicians and other health professionals focused on wilderness medicine, publishes practice guidelines covering everything from wound care to high-altitude illness.
🎓 What these courses actually teach
Wilderness first aid training focuses on decision-making when help is far away: how to assess an injury, when it’s safe to keep hiking, when to call for evacuation, and how to stabilize someone in the meantime. That judgment matters more than any single item in a kit.
You don’t need the full 80-hour Wilderness First Responder course to benefit. Even a single weekend Wilderness First Aid class, often paired with a CPR certification, gives you real practice with bandaging, splinting and recognizing when an injury needs professional care.
Common Mistakes (and How to Fix Them)
1. Buying a kit and never opening it
❌ The mistake: tossing a sealed first aid kit in a pack and never learning what’s inside.
✅ The fix: open it at home, learn where everything is, and practice applying a bandage or a splint before you need to do it for real.
2. Ignoring a hot spot until it blisters
❌ The mistake: deciding a rubbing spot on your foot can wait until camp.
✅ The fix: stop walking at the first sign of a hot spot, dry your foot, and tape it immediately.
3. Packing a kit sized for the wrong trip
❌ The mistake: carrying the same small day-hike kit on a week-long, remote trip.
✅ The fix: match your kit to the trip type table above, and size up for group size and distance from help.
4. Letting supplies expire unnoticed
❌ The mistake: assuming a first aid kit lasts forever once it’s packed.
✅ The fix: check expiration dates twice a year, and restock right after any trip where you used something.
5. No plan for personal medication or allergies
❌ The mistake: not telling hiking partners about a serious allergy or where a prescribed auto-injector is kept.
✅ The fix: write it on a card in the kit, and tell at least one other person in your group before you start hiking.
6. Treating the kit as a substitute for training
❌ The mistake: assuming a well-stocked kit means you’re prepared for a real emergency.
✅ The fix: take a wilderness first aid course from the Red Cross, NOLS or a similar provider so you know how to use what you’re carrying.
Pro Tips for Using Your Kit
- Repack loose items into resealable bags, sorted by type, so you’re not digging through loose bandages under stress.
- Keep a printed card with allergies and emergency contacts inside the kit, for you and every group member.
- Store your kit in the same pack pocket every trip, so you can find it instantly even in the dark.
- Carry a small mirror or a mirror compass to help you see and treat a wound in a hard-to-view spot; our compass guide covers models with a built-in mirror.
- Tell someone your plans before you go, as part of a broader safety plan, not just a first aid kit; see our 10 hiking essentials guide.
- Practice a splint and a bandage at home on a willing family member before you ever need to do it on the trail.
- Check your kit against the checklist below before every single trip, not just the first one.
The best first aid kit is the one you’ve actually opened before, not just the one that looks complete on a store shelf.
Real-World Examples: Three Common Situations
These are composite examples built from patterns hikers commonly share in trail journals, gear reviews and online communities. They’re not individual testimonials, but they show how a kit and a little know-how come together on the trail.
Frequently Asked Questions
What are the most important items in a hiking first aid kit?
Adhesive bandages, gauze pads, medical tape, antiseptic wipes, blister pads or moleskin, an elastic wrap, tweezers and gloves cover most common hiking injuries: blisters, small cuts and sprains.
Is it better to buy a pre-made first aid kit or build my own?
Both work well. A pre-made kit is faster to get started with and covers general needs. Building your own lets you match supplies exactly to your health needs, trip length and past injuries. Many hikers start with a pre-made kit and customize it over time.
How often should I check or replace my first aid kit?
Check it after every trip where you used something, and do a full review with expiration dates about twice a year. Replace anything used, expired, leaked or damaged by moisture.
Can I carry my own prescription medication, like an EpiPen, while hiking?
Yes, if it’s prescribed to you, and you should follow your doctor’s and pharmacist’s instructions for carrying and storing it. Tell your hiking partners where it is kept and what a severe reaction looks like, since a serious allergic reaction always needs an emergency call, even after it’s used.
Do I need wilderness first aid training if I carry a good kit?
A kit alone doesn’t teach you when to keep hiking, when to evacuate, or how to actually use what’s inside it. The American Red Cross, NOLS and the Wilderness Medical Society all offer or support training built for exactly that gap.
What should I do if a blister looks infected?
Mayo Clinic’s guidance advises seeing a healthcare professional if you notice spreading redness, increasing pain, swelling, pus or skin that feels warm around a blister or wound. That is not something to manage with kit supplies alone.
Your Hiking First Aid Kit Checklist
Use this list to build or check your kit before your next trip. Start from the top, and add more of each category as your trip gets longer, more remote or includes more people.
Tap each item as you complete it. Your progress is saved in this browser.
- Adhesive bandages, gauze pads and medical tape
- Antiseptic wipes and antibiotic ointment
- Moleskin or blister pads, plus a roll of strapping tape
- Elastic wrap, and a moldable splint for longer or group trips
- Tweezers, small scissors and a pair of gloves
- Any personal medication, clearly labeled
- A card listing allergies and emergency contacts for everyone in your group
- General over-the-counter items: pain relief, antihistamine, anti-diarrheal
- A printed first aid guide, especially for remote trips
- A checked expiration date on every item, updated within the last six months
The Bottom Line
A good hiking first aid kit doesn’t need to be huge. It needs to match your trip, cover blisters, small wounds and sprains, and be something you’ve actually opened and practiced with before you need it for real.
Pick a kit sized for your trip type, customize it around your own health history, check it after every trip, and consider a wilderness first aid course if you hike often or go somewhere remote. That combination matters far more than any single bandage.
🩹 Build your kit and your safety plan together
Pair this guide with our free planning tools before you head out.
Keep reading: the 10 hiking essentials, how to avoid ticks while hiking and mountain hiking safety.
Sources
- American Red Cross: Hiking & Backpacking First Aid Kit Checklist
- American Red Cross: Make a First Aid Kit, What to Include
- American Red Cross: Wilderness and Remote First Aid course
- Mayo Clinic: Blisters, First Aid
- Mayo Clinic: Cuts and Scrapes, First Aid
- Mayo Clinic: Sprain, First Aid
- NOLS Wilderness Medicine: Wilderness First Responder
- Wilderness Medical Society
- Adventure Medical Kits: Ultralight/Watertight .7 Medical Kit
Facts checked in September 2026. This article is general information, not medical advice; product listings and specifications change, so confirm details before you buy.
You may also like

How Much Water Should You Bring Hiking?
A practical formula for hiking water — by hour, body weight, climate and elevation. Plus when to filter, when to carry extra,…

Hiking Safety: The 10 Essentials Every Hiker Needs
The 10 Essentials hiking safety list explained — what each item does, lightweight modern versions, and why most hikers carry 7 of…

Best Hiking Headlamps for Trail Safety
How to choose a hiking headlamp — lumens, battery life, beam patterns, weight and price, with picks by use case.

Get better at hiking.
Practical hiking tips, gear guides, trail advice and outdoor stories, delivered occasionally. No spam, unsubscribe any time.